MatrixGate简称mxgate,是高性能流式数据加载服务器,位于MatrixDB安装目录下的bin/mxgate。MatrixGate当前提供HTTP和STDIN接口加载数据,数据格式支持TEXT和CSV。
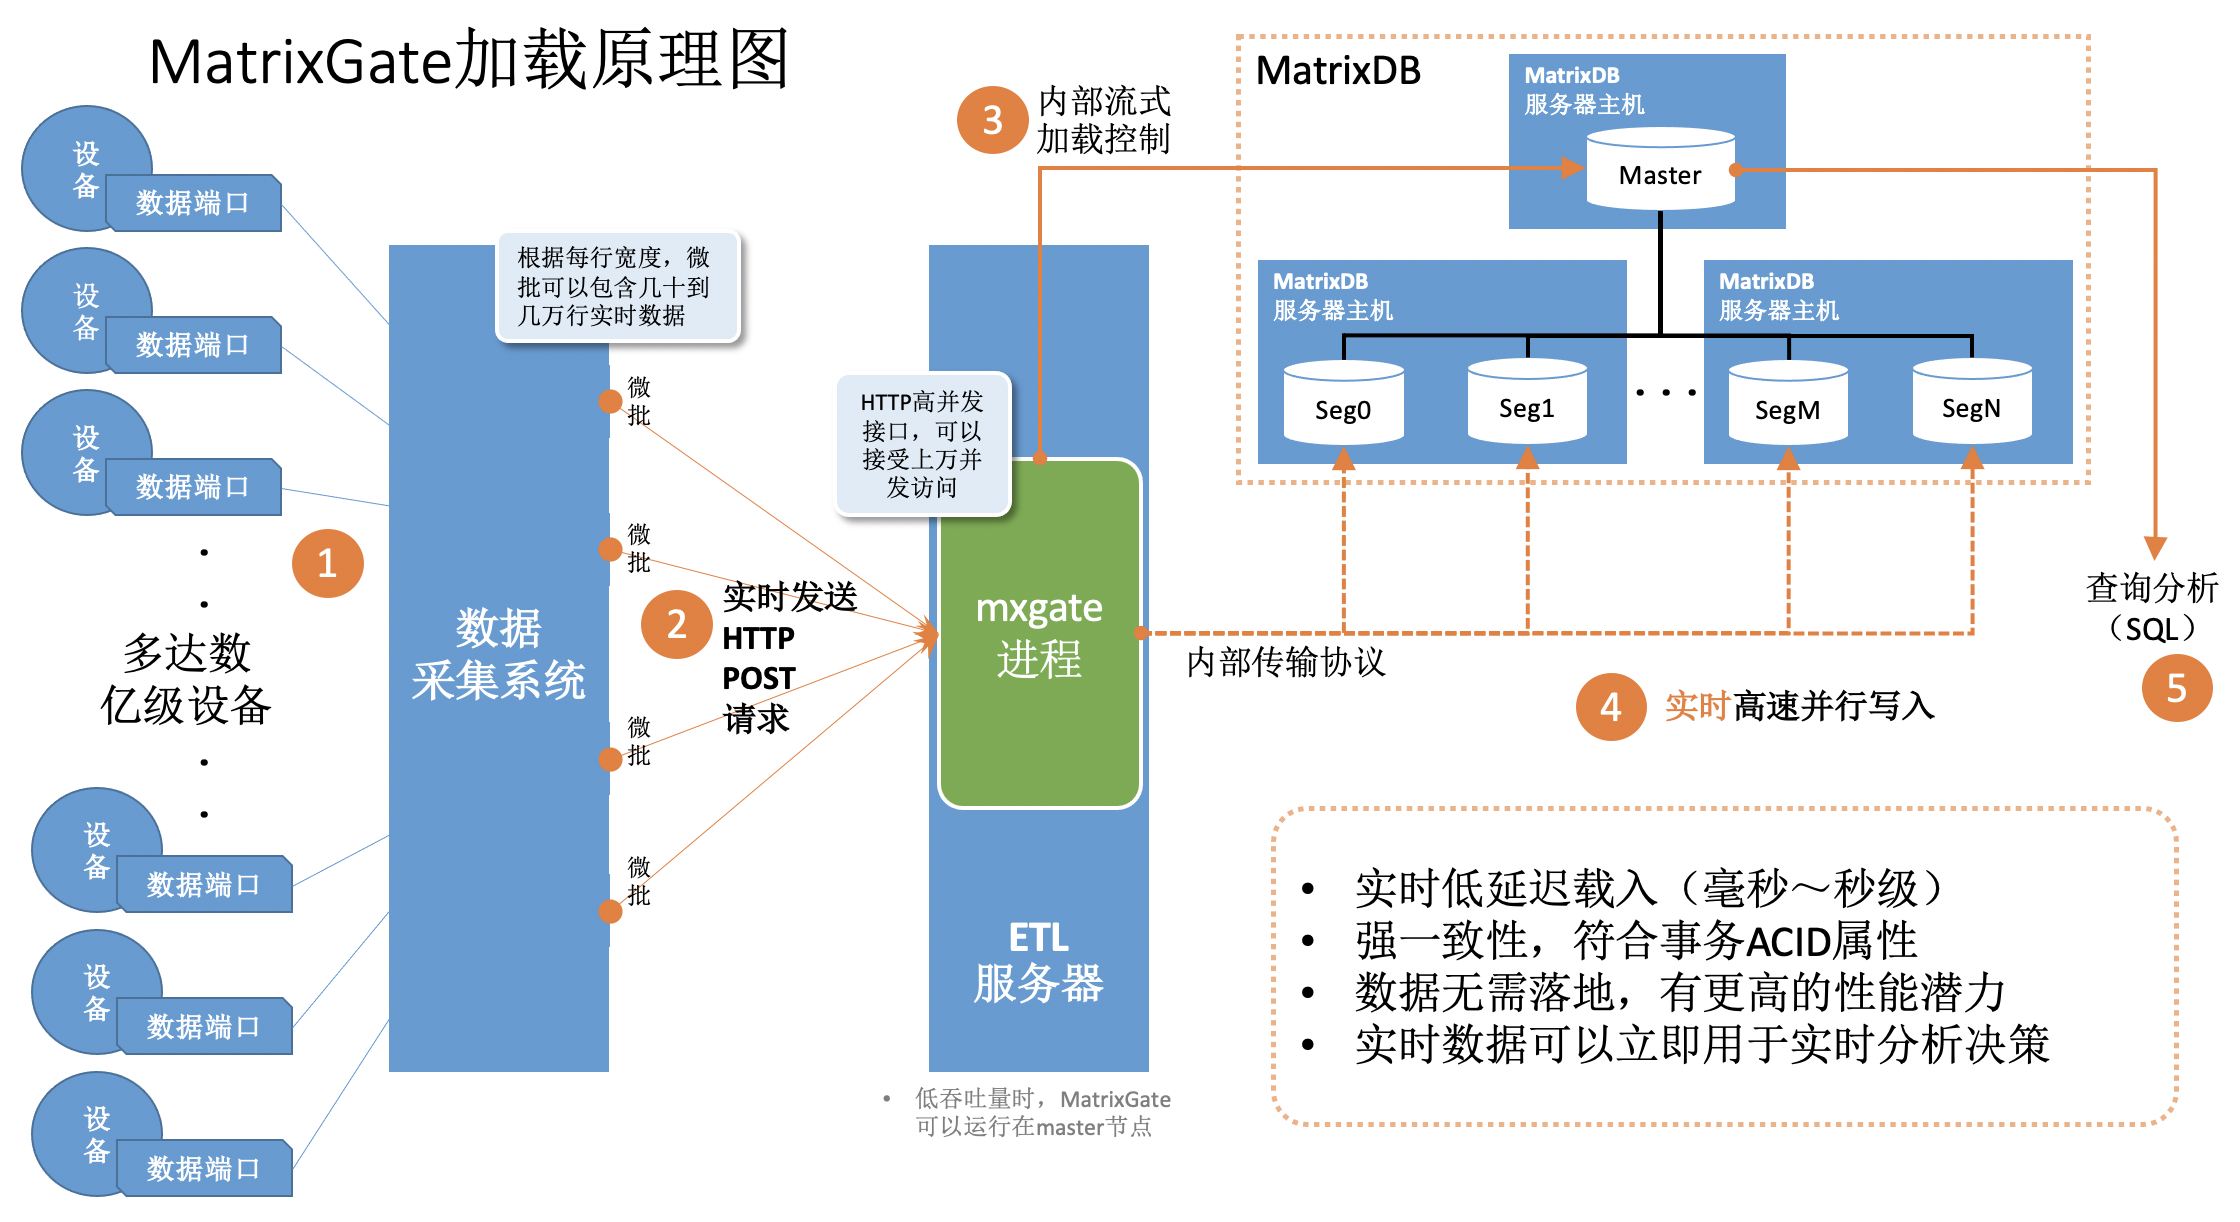
MatrixGate加载数据的逻辑如下图所示,1)数据采集系统采集设备数据或者接收由设备发送来的数据 2) 采集系统以并发微批的模式向MatrixGate的服务进程mxgate持续发送数据 3)mxgate进程和MatrixDB的master进程高效通信,沟通事务和控制信息 4)数据直接发送到segment节点,并行高速写入。
指定目标数据库和目标表,生成mxgate配置文件
mxgate config --db-database demo --target public.testtable --target public.testtable2 --allow-dynamic > mxgate.conf上述参数将生成一个配置文件mxgate.conf,允许用户对testtable和testtable2的加载做些个性化定制,同时也可以使用全局缺省设置往其他表中加载数据。
根据需要修改mxgate配置文件,如配置数据分隔符等,选择默认配置可忽略此步骤。可以在该配置文件中看到与testtable和testtable2对应的设置如下:
  [[job.target]]
    # delimiter = "|"
    # exclude-columns = []
    # format = "text"
    name = "job_text_to_public.testtable"
    # null-as = ""
    table = "public.testtable"
    # time-format = "unix-second"
    # use-auto-increment = true

  [[job.target]]
    # delimiter = "|"
    # exclude-columns = []
    # format = "text"
    name = "job_text_to_public.testtable2"
    # null-as = ""
    table = "public.testtable2"
    # time-format = "unix-second"
    # use-auto-increment = true
如果testtable的分隔符是@,而testtable2的分隔符是%,可以把上述配置修改为:
  [[job.target]]
    delimiter = "@"
    # exclude-columns = []
    # format = "text"
    name = "job_text_to_public.testtable"
    # null-as = ""
    table = "public.testtable"
    # time-format = "unix-second"
    # use-auto-increment = true

  [[job.target]]
    delimiter = "%"
    # exclude-columns = []
    # format = "text"
    name = "job_text_to_public.testtable2"
    # null-as = ""
    table = "public.testtable2"
    # time-format = "unix-second"
    # use-auto-increment = true
mxgate默认监听8086端口接收数据,可以在mxgate.conf中看到source.http下的http-port子项设置为8086,如果需要,可以改为其他端口:
[source]

## Source plugin is the data entrance to MatrixGate
## Types restricted to: http
source = "http"

[source.http]

  ## Port of http push
  # http-port = 8086

  ## Maximum request body size (after gzip)
  ## The server rejects requests with bodies exceeding this limit.
  # max-body-bytes = 4194304

  ## The maximum number of concurrent HTTP connections to the server
  ## The server response with 503 after exceed this limit.
  # max-concurrency = 40000
启动mxgate,加载配置文件,连接demo数据库,准备接收数据加载请求
mxgate start --config mxgate.conf查看后台服务状态
mxgate status终止后台服务
mxgate stop当遇到超时或者其他问题需要强制停止时,可以这样执行:
mxgate stop --force| 参数名 | 参数值 | 参数含义 |
|---|---|---|
| [general]类别 | ||
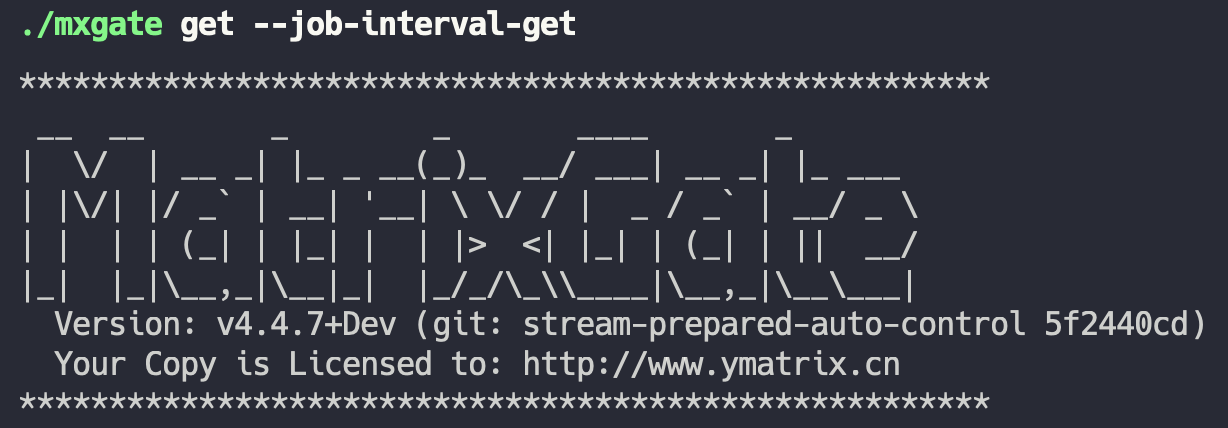
| --job-interval-get | 默认false | 获取写入事务的工作时间 |
| --job-list | 默认false | 获取所有的写入事务信息 |
| --job-state | 默认false | 获取所有的写入事务状态 |
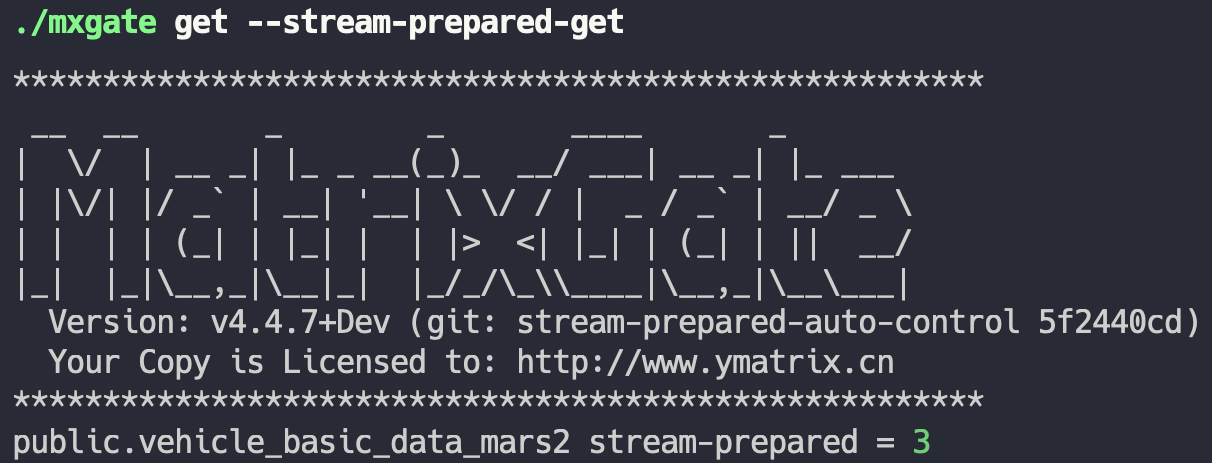
| --stream-prepared-get | 11 | 获取写入事务中写入连接的数量 |
| --stream-status-get | 默认false | 获取写入事务中写入连接的状态 |
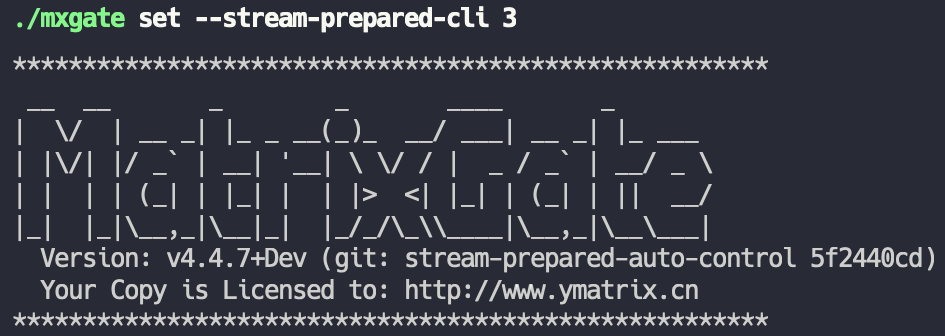
| --stream-prepared-cli int | 默认0 | 写入事务中活跃写入连接的数量 |
| --pause | 默认false | 中断写入 |
| --resume | 默认false | 恢复写入 |
| [database]类别 | ||
| --db-database | 默认postgres | MatrixGate连接MatrixDB数据库名 |
| --db-master-host | 默认本机主机名 | MatrixGate连接MatrixDB主机名 |
| --db-master-port | 默认5432 | MatrixGate连接MatrixDB主机端口号 |
| --db-user | 默认当前系统用户名 | MatrixGate连接MatrixDB用户名 注意:该用户必须具有创建外部表的权限,如果使用的是非超级权限用户,请使用如下命令增加权限: alter user {username} CREATEEXTTABLE; |
| --db-password | 默认为空 | MatrixGate连接MatrixDB用户密码 |
| --db-max-conn | 默认10 | MatrixGate连接MatrixDB最大连接数 |
| [job]类别 | ||
| --allow-dynamic | 默认false | 当指定--allow-dynamic=true时,允许根据POST的数据内容(第一行),动态适配插入的目标表。此选项应仅用于MatrixGate启动时目标表名尚未确定的场景。如果固定插入某个已知的目标表,推荐用--target显式指定表名 |
| --delimiter | 默认为 | | 指定用于分隔文件每一行(行)中各列的字符 |
| --error-handling | 默认为'accurate' | 遇到格式错误行的处理方式 'accurate':错误数据不入库并记录错误日志,该批次其他数据不受影响 'legacy':该批次整体失败 |
| --exclude-columns | 默认为空 | 数据加载默认提供的列数量和列顺序需要与表定义一致,当数据加载仅提供部分列时,--exclude-columns用于标记排除的列名,其他列仍需要保证顺序与表定义一致。 提示:如果已经开启--use-auto-increment跳过自增字段,则不需要在此列出这些自增字段。这个参数只需要标记出其他还需要排除的列名即可 |
| --format | 默认 text | 指定源数据的数据格式text或csv。text速度最快,但不支持字符类型中出现换行。csv格式适用性更广,对字符类型的列必须用双引号。 |
| --null-as | 默认空字符串 | 指定表示空值的字符串。 默认值为无引号的空字符串。当数据表中的列约束为非空NOT NULL,且数据内容上该列给出了空值,将会导致加载报错。提示:如需要使用\N为空值,需要对反斜杠进行转义,如:--null-as \N |
| --time-format | 默认unix-second | 指定时间戳单位:unix-second|unix-ms|unix-nano|raw。\n MatrixGate默认将每行数据的第一列当作时间戳的Unix表示,自动将其转化为数据库时间格式。如果时间戳不在第一列,或者用户已经自行转换为数据库格式,则应使用raw,这样MatrixGate不会做时间类型转换。 |
| --upsert-key | 默认为空 | 进行upsert的键名,可以指定多个。 需要做upsert的表,必须建立UNIQUE约束,且参数中要指定所有约束键。 |
| --deduplicate-key | 默认为空 | 用法和upsert类似,区别是只更新空值,如果旧值非空,新值丢弃。 和--upsert-key参数互斥,只能选一种。 |
| --use-auto-increment | 默认true | 当target表中含有自增字段时,是否在加载数据中跳过自增字段赋值而使用系统默认自增值 |
| --target | schemaName.tableName | 指定目标的表名,schemaName可以省略,默认为public。允许指定多个目标表,使用方法是 "--target 表1 --target 表2 …"。当不提供此参数时,可以额外指定--allow-dynamic参数来允许动态适配表名。 |
| [misc]类别 | ||
| --log-archive-hours | 默认为72 | 日志目录下,超过一定时间未发生改变的matrixgate日志文件,被自动压缩 |
| --log-compress | 默认为true | 是否开启log自动压缩的全局开关 |
| --log-dir | 默认为/home/mxadmin/gpAdminLogs | 日志目录 |
| --log-max-archive-files | 默认为0 | 最多保留多少个压缩的log文件,超过这个数量,则最老的日志文件会被删除。0为不删除 |
| --log-remove-after-days | 默认为0 | 被压缩后的log文件,再经过多少天被自动删除。0为不删除 |
| --log-rotate-size-mb | 默认为100 | 当前log文件超过一定大小则自动切换到一个新文件,旧文件则立即压缩 |
| [source]类别 | ||
| --source | 默认http | MatrixGate数据来源,支持http、stdin、kafka、transfer |
| [source]类别 | [http] | |
| --http-port | 默认8086 | MatrixGate用户提交数据的HTTP接口 |
| --max-body-bytes | 默认4194304 | 每个HTTP包体大小上限 |
| --max-concurrency | 默认40000 | HTTP最大并发连接数 |
| --request-timeout | 默认0 | 请求超时时间,默认0,无限等待。当设置大于0的值,会在等待毫秒单位的设置时间后超时并返回HTTP408。 |
| --disable-keep-alive | 默认false | MatrixGate在每次HTTP请求后强制断开连接 |
| --http-debug | 默认false | 输出附加HTTP诊断信息 |
| [source]类别 | [transfer] | |
| --src-host | 源库master的ip地址 | |
| --src-port | 源库master的端口号 | |
| --src-user | 连接源库的用户名(建议使用superuser) | |
| --src-password | 连接密码 | |
| --src-schema | 源表的schema名 | |
| --src-table | 源表的表名 | |
| --src-sql | 进行迁移数据过滤的SQL | |
| --compress | 源数据库segment主机到本数据的传输方法: 空白字符串“”,代表不压缩,明文传输 gzip:使用gzip压缩,需要源数据库的segment主机上必须安装有gzip这个linux命令 lz4:使用lz4压缩,需要源数据库的segment主机上必须安装有lz4这个linux命令 推荐 lz4 > gzip > 不压缩 |
|
| --port-base | 传输中会占用一批端口,端口的范围为9129~ | |
| --local-ip | 必须用源库可以连接到本机的IP地址 | |
| [writer]类别 | ||
| --interval | 默认100毫秒 | MatrixGate执行批量数据加载时间周期 |
| --stream-prepared | 默认10 | 插入工作进程并行度 |
| --use-gzip | 默认'auto' | MatrixGate向segment发送数据时是否开启压缩,可配置参数为auto/yes/no |
| --max-seg-conn | 默认128 | 外部表从MatrixGate拉取数据时启动的segment数量,调大该参数会增加网络连接资源 |
| --timing | 默认false | 开启该参数后,MatrixGate在记录日志时会为每条INSERT增加耗时信息 |
| --insert-timeout | 默认0 | MatrixGate执行INSERT语句超时时间,默认为0,无限等待。 设置大于0的值后会在等待毫秒单位配置时间后超时。 |
| 其他 | ||
| --help | 显示用法和参数列表 |
MatrixGate对外提供HTTP API,支持各种编程语言通过HTTP接口将数据导入到MatrixDB数据库中。
MatrixGate HTTP协议格式
| 协议类型 | 协议格式 | 用法及示例 |
|---|---|---|
| URL | http://mxgate-host:port | 指定mxgate连接地址 |
| PATH | / | 当前支持/,忽略/后面任何PATH |
| HTTP Method | POST | 当前支持POST方式加载数据 |
| HTTP Header | Content-Encoding: gzip | 当前支持gzip对HTTP Body内容压缩 |
| Content-Type: text/plain | 当前支持text/plain | |
| HTTP Body | SchemaName.TableName Timestamp|ID]|C1|C2|..|Cn |
Body格式第一行为数据加载的目标表,SchemeName可省略,默认为Public,TableName为必须项,第二行开始是时序数据行,每行对应目标表的一行,列之间使用|分隔符,行之间使用\n分隔符。每行第一个字段为时间戳,格式为UNIX时间戳精确到秒,参见--time-format的说明。每行第二个字段为TagID,整型。每行第三个字段到最后一个字段为与目标表对应的列。 建议目标表的DDL定义也遵循( Timestamp,TagID,C1,C2,…,Cn)的列顺序 |
MatrixGate HTTP响应码
| 响应码 | 响应码含义 | 备注 |
|---|---|---|
| 200 | StatusOK | 部分数据格式错误,响应Body里会包含错误的行以错误信息,如:At line: 2missing data for column "c3" |
| 204 | StatusNoContent | 数据成功加载到MatrixGate |
| 400 | StatusBadRequest | 数据请求错误,如POST BODY格式错误、目标表不存在、数据压缩格式与HTTP请求头不符等 |
| 405 | StatusMethodNotAllowed | HTTP非POST请求 |
| 408 | StatusTimeout | 请求超时 |
| 500 | StatusIntervalServerError | 数据库端错误,数据加载失败,响应Body内包含详细错误信息 |
| 503 | StatusServiceUnavailable | MatrixGate拒绝请求,如超过最大连接数,或MatrixGate正在关闭等 |
在demo数据库中创建表testtable
CREATE TABLE testtable (time TIMESTAMP WITH TIME ZONE, tagid INT, c1 INT, c2 INT, c3 INT)
DISTRIBUTED BY (tagid);
编辑数据加载文件data.txt,内容如下
public.testtable
1603777821|1|101|201|301
1603777822|2|102|202|302
1603777823|3|103|203|303
启动mxgate,指定生成好的配置文件mxgate.conf
mxgate --config mxgate.conf发送HTTP请求加载数据
curl http://localhost:8086/ -X POST -H 'Content-Type: text/plain' --data-binary "@data.txt"连接数据库查询数据是否加载成功
demo=# SELECT extract(epoch FROM "time"), * FROM testtable;
 date_part  |          time          | tagid | c1  | c2  | c3
------------+------------------------+-------+-----+-----+-----
 1603777821 | 2020-10-27 13:50:21+08 |     1 | 101 | 201 | 301
 1603777822 | 2020-10-27 13:50:22+08 |     2 | 102 | 202 | 302
 1603777823 | 2020-10-27 13:50:23+08 |     3 | 103 | 203 | 303
(3 rows)import java.io.BufferedReader;
import java.io.DataOutputStream;
import java.io.InputStreamReader;
import java.net.HttpURLConnection;
import java.net.URL;
public class MxgateExample {
public static void main(String[] args) throws Exception {
MxgateExample http = new MxgateExample();
http.sendingPostRequest();
}
// HTTP Post request
private void sendingPostRequest() throws Exception {
// mxgate监听在localhost的8086端口
String url = "http://localhost:8086/";
URL obj = new URL(url);
HttpURLConnection con = (HttpURLConnection) obj.openConnection();
// Setting basic post request
con.setRequestMethod("POST");
con.setRequestProperty("Content-Type","text/plain");
String postJsonData = "public.testtable\n1603777821|1|101|201|301\n1603777822|2|102|202|302\n1603777823|3|103|203|303";
con.setDoOutput(true);
DataOutputStream wr = new DataOutputStream(con.getOutputStream());
// 数据有中文时,可以通过postJsonData.getBytes("UTF-8")编码
wr.write(postJsonData.toString().getBytes("UTF-8"));
wr.flush();
wr.close();
int responseCode = con.getResponseCode();
System.out.println("Sending 'POST' request to URL : " + url);
System.out.println("Post Data : " + postJsonData);
System.out.println("Response Code : " + responseCode);
BufferedReader in = new BufferedReader(new InputStreamReader(con.getInputStream()));
String output;
StringBuffer response = new StringBuffer();
while ((output = in.readLine()) != null) {
response.append(output);
}
in.close();
System.out.println(response.toString());
}
}import http.client
class MxgateExample(object):
def __init__(self):
# mxgate监听在localhost的8086端口
self.url = "localhost:8086"
self.postData = "public.testtable\n/" \
"1603777821|1|101|201|301\n/" \
"1603777822|2|102|202|302\n/" \
"1603777823|3|103|203|303"
self.headers = {"Content-Type": "text/plain"}
# HTTP Post request
def sending_post_request(self):
conn = http.client.HTTPConnection(self.url)
conn.request("POST", "/", self.postData, self.headers)
response = conn.getresponse()
response_code = response.getcode()
print(f"Sending 'POST' request to URL : {self.url}")
print(f"Post Data : {self.postData}")
print(f"Response Code : {response_code}")
output = response.read()
print(output)
if __name__ == '__main__':
gate_post = MxgateExample()
gate_post.sending_post_request()
建议开发代码使用C# Core 开发环境
using System;
using System.IO;
using System.Net;
using System.Text;

namespace HttpPostTest
{
class Program
    {
        static void Main(string[] args)
        {
            var url = "http://10.13.2.177:8086/";
            var txt = "public.dest\n2021-01-01 00:00:00,1,a1\n2021-01-01 00:00:00,2,a2\n2021-01-01 00:00:00,3,a3";

           HttpPost(url,txt);
        }

public static string HttpPost(string url, string content){
    string result = "";
    HttpWebRequest req = (HttpWebRequest)WebRequest.Create(url);
    req.Method = "POST";
    req.ContentType = "text/plain";

    #region 添加Post 参数
    byte[] data = Encoding.UTF8.GetBytes(content);
    req.ContentLength = data.Length;
    using (Stream reqStream = req.GetRequestStream()){
        reqStream.Write(data, 0, data.Length);
        reqStream.Close();
    }
    #endregion

    HttpWebResponse resp = (HttpWebResponse)req.GetResponse();
    Stream stream = resp.GetResponseStream();
    //获取响应内容
    using (StreamReader reader = new StreamReader(stream, Encoding.UTF8)){
        result = reader.ReadToEnd();
        }
        return result;
    }

  }
}
如果遇到error when serving connection ***** body size exceeds the given limit 这个问题,调大mxgate.conf 下的max-body-bytes
package main

import (
    "bytes"
    "net/http"
)

func PostDataToServer(URL string) error {
    data := `public.testtable
1603777821|1|101|201|301
1603777822|2|102|202|302
1603777823|3|103|203|303
`
    resp, err := http.Post(URL, "application/text", bytes.NewBuffer([]byte(data)))
    if err != nil {
        return err
    }
    if resp.StatusCode != 200 {
        // Deal with the response body.
        return nil
    }

    // Deal with the response body.
    return nil
}

func main()  {
    err := PostDataToServer("http://127.0.0.1:8086")
    if err != nil{
        panic(err)
    }

}在demo数据库中创建表csvtable
CREATE TABLE csvtable (time TIMESTAMP WITH TIME ZONE, tagid INT, c1 INT, c2 INT, c3 INT)
DISTRIBUTED BY (tagid);
编辑数据加载文件data.csv,内容如下
1603777821|1|101|201|301
1603777822|2|102|202|302
1603777823|3|103|203|303
启动mxgate,指定source参数为stdin,目标表为已经存在的csvtable,加载并行度为2
mxgate \
--source stdin \
--db-database demo \
--db-master-host 127.0.0.1 \
--db-master-port 5432 \
--db-user mxadmin \
--time-format unix-second \
--delimiter "|" \
--target csvtable \
--parallel 2 < data.csv
连接数据库查询数据是否加载成功
demo=# SELECT * FROM csvtable ;
          time          | tagid | c1  | c2  | c3
------------------------+-------+-----+-----+-----
 2020-10-27 05:50:23+08 |     3 | 103 | 203 | 303
 2020-10-27 05:50:22+08 |     2 | 102 | 202 | 302
 2020-10-27 05:50:21+08 |     1 | 101 | 201 | 301

(3 rows)创建表
create table json_test(id int, j json);创建数据文件
~/json.csv
1|"{""a"":10, ""b"":""xyz""}"加载
这里使用stdin模式为例,其他模式都一样。
关键在 --format csv
mxgated \
--source stdin \
--db-database postgres \
--db-master-host 127.0.0.1 \
--db-master-port 7000 \
--db-user mxadmin \
--time-format raw \
--format csv \
--delimiter "|" \
--target json_test < ~/json.csv
查看加载数据
postgres=# select * from json_test;
id |           j
----+-----------------------
1 | {"a":10, "b":"xyz"}
(1 row)创建表
create table json_array_test(id int, j _json);创建数据文件
~/json_array.csv
1|"{""{\""a\"":10, \""b\"":\""xyz\""}"",""{\""c\"": 10}""}"加载
mxgate \
--source stdin \
--db-database postgres \
--db-master-host 127.0.0.1 \
--db-master-port 7000 \
--db-user mxadmin \
--time-format raw \
--format csv \
--delimiter "|" \
--target json_array_test < ~/json_array.csv
验证
postgres=# select * from json_array_test ;
id |                      j
----+---------------------------------------------
1 | {"{\"a\":10, \"b\":\"xyz\"}","{\"c\": 10}"}
(1 row)
注意:因为json列包含引号等特殊字符,所以mxgate的--format参数必须为csv
watch是mxgate的一个子命令,用一系列指标描述mxgate daemon运行情况。 watch有两种模式:
mxgate watch会每三秒收集mxgate的运行指标,输出结果如下
                 Time          WCount          ICount        WSpeed/s        ISpeed/s  WBandWidth MB/S     BlocakItems
  2022-04-28 15:20:58        14478858        14527011         2598081         2627887            2395               0
  2022-04-28 15:21:01        22231035        22633254         2584059         2702081            2222               0
  2022-04-28 15:21:04        30494310        30500874         2754425         2622540            3551               0
  2022-04-28 15:21:07        38004210        38032956         2503300         2510694            2862               0
  2022-04-28 15:21:10        46188696        46298223         2728162         2755089            2227               0
  ...
可通过--info参数来获取上述各个指标的说明
mxgate watch --info默认情况下只会输出速度指标,可通过--watch-latency参数来观测时间指标用于分析问题
mxgate watch --watch-latencymxgate watch --history会计算从当前时间-24小时到当前时间的每小时的平均速度,输出结果如下
                TIME RANGE                | SPEED/S  | BANDWIDTH MB/S  | BLOCK ITEMS
  2022-04-28 16:00:00-2022-04-28 17:00:00 |  2208010 |         1254.48 |           0
  2022-04-28 17:00:00-2022-04-28 18:00:00 |  1157920 |         1327.00 |           0
  2022-04-28 18:00:00-2022-04-28 19:00:00 |  2228666 |         2162.32 |           0
  2022-04-28 19:00:00-2022-04-28 20:00:00 |  1371092 |         2881.30 |           0
  2022-04-28 20:00:00-2022-04-28 21:00:00 |  1575320 |         2608.20 |           0
其中SPEED/S,BANDWIDTH MB/S代表导入的条目速度与导入带宽(MB/s为单位), BLOCK ITEMS代表阻塞在mxgate的数据量,当数据库消费速度跟不上数据源(http,kafka等)生产速度时,这个值会上升
可以添加 --watch-start,--watch-end,--watch-duration 参数来控制观测历史数据的时间区间与周期
例如
mxgate watch --history --watch-start '2022-03-27 00:00:00' --watch-end '2022-04-27 00:00:00' --watch-duration '168h'可以获得从3月27日到4月27日每周(每168h)平均导入速度
其中--watch-duration支持h m s 三种单位
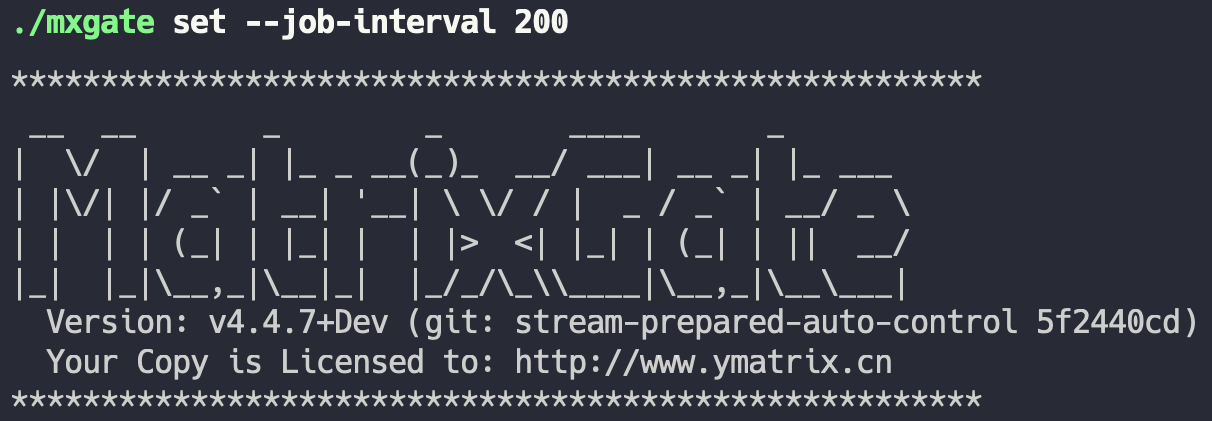
mxgate支持在不停止运行的情况下,修改并行加载的相关参数:"interval"、“stream-prepared”。 "interval"代表的是完成从mxgate写入数据到数据库表的每个写入连接的工作时间,“stream-prepared”代表的是活跃的写入连接的数量。在mxgate逻辑中,同一个数据库表同一时间只有一个写入连接执行写入数据的事务,因此每个数据库表都需要有多个连接在不同时间区间去不停地执行它自身的写入事务,从而保证高速率、高效率地写入数据。在此过程中,你可以通过“interval”这个参数来实现对于每个写入连接的工作时间的调整,从而改善数据的写入速率,针对性提高加载性能。具体用法示例如下:
注意!
对于以上参数,如果你想设置或获取某个特定表的写入连接数量或工作时间,那么在上述命令后加“--job <名称>”即可。每个事务(job)对应一张数据库表,job参数结构由模式名与表名组成,意思就是如果你的特定表叫做“test_table”,模式名为“public”,那么完成指定就需要在已有命令后加上“--job public.test_table”就是对的。
在数据加载的过程中,你突然发现在变化的时序数据源驱动下,之前设定的表结构对于现在场景不再适用了,然后你就有了修改表结构的需求,这是mxgate可以满足的。此节将会说明,mxgate如何在不停机的情况下,执行暂停数据写入,重载修改后的数据库表元信息,恢复数据写入等系列操作。具体步骤如下:
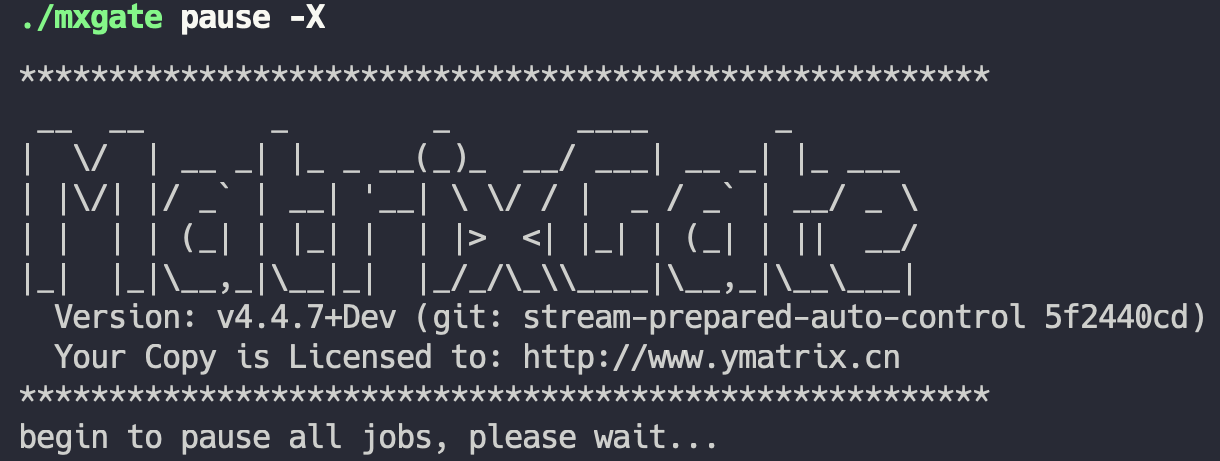
首先,使用命令“mxgate pause -X”中断所有表的写入连接,为修改数据库表结构作准备。其中“-X”参数是必要的,它会帮助中断mxgate和数据库之间的连接。如果不中断连接,是无法对数据库表进行修改的。除了“-X”之外,运用“-S”参数可以令pause命会同步等待所有连接中断完成再返回。
其次,中断对应表的所有写入连接之后,即可以对数据库对应的数据库表执行修改结构的操作,如增加若干列,删除若干列,删除已有表,重新创建“同名”的新表。
注意! 重建的表结构可以不同,但“表名”必须保持一致。
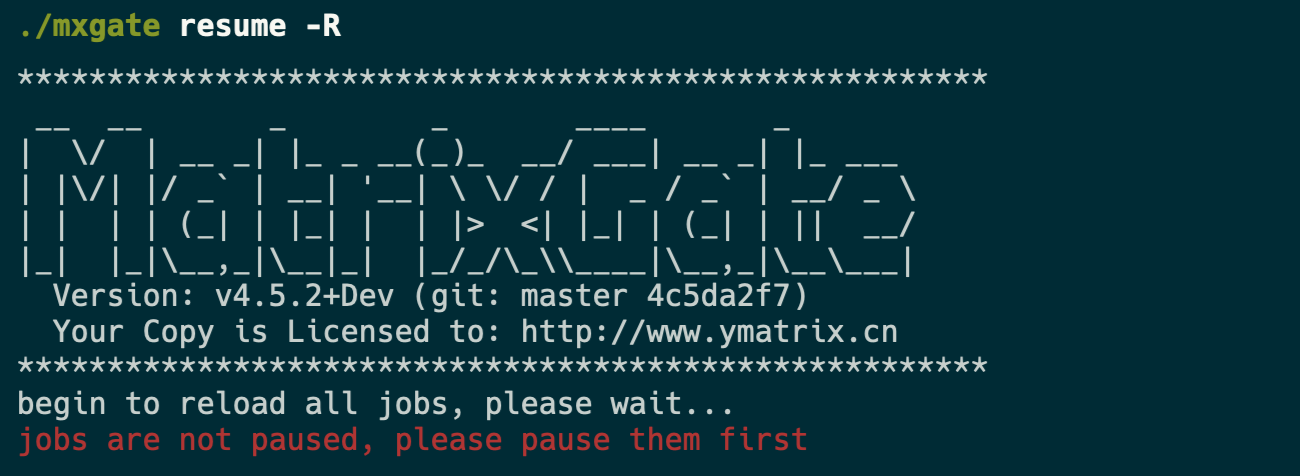
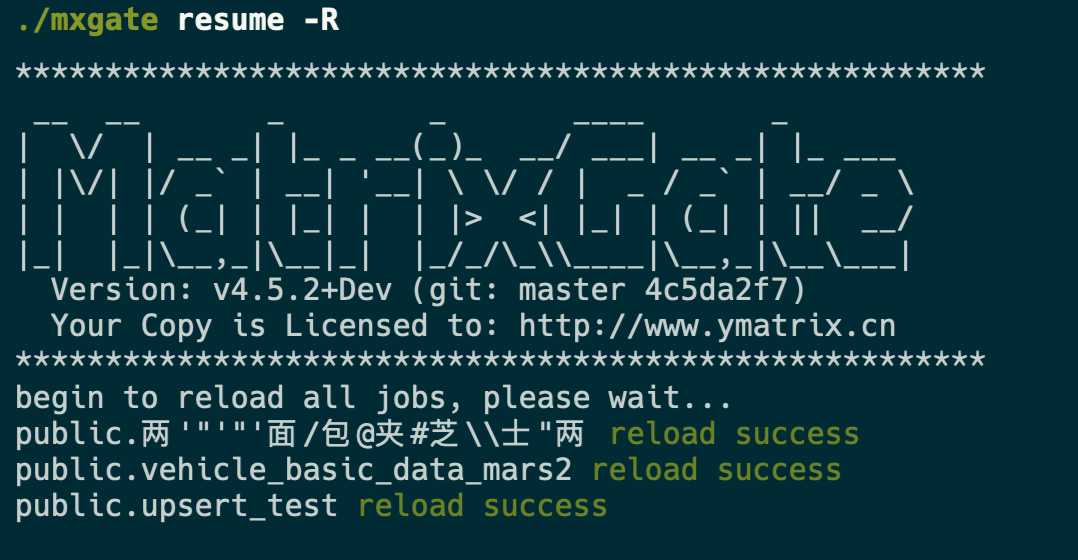
最后,使用命令“mxgate resume -R”恢复所有表的写入连接,重载数据表的元信息。其中“-R”参数是必需的,“resume”与“-R”将组合完成重载操作。
特别地,多个mxgate进程同时运行的情况,需要“-p”参数表示对应mxgate进程的进程号,上述所有命令都是同理。
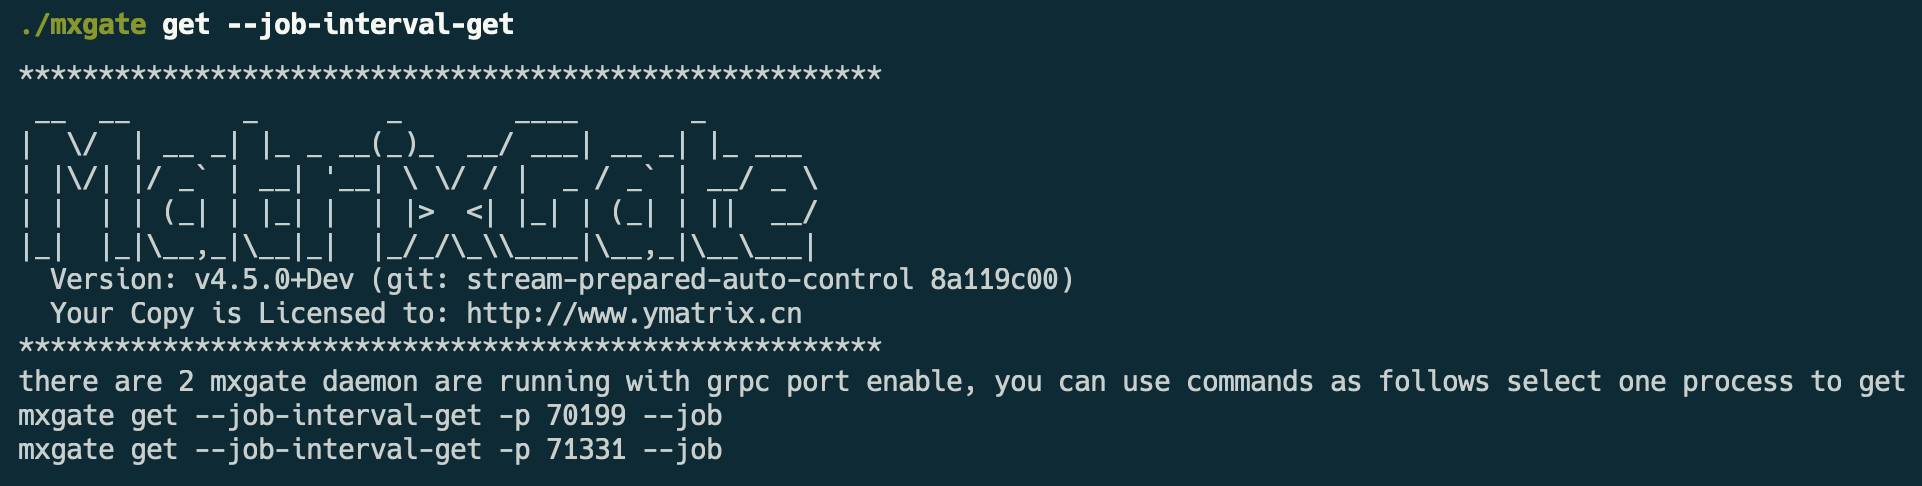
注意!
执行重载命令的前提是mxgate的对应的表的所有写入连接必须先被暂停,否则会出现如下报错: